From signing up to your first tracked click
Everything a new workspace needs: how the product works, what to configure, how to build a bio page, and how to prove it is all being tracked before you put a link in front of anyone.
Reading time: about 10 minutes · Free plan, no credit card
The basics
What actually happens when someone clicks
Three moving parts, and nothing else. Once this is clear, every screen in the product makes sense.
- 1
You shorten a link
Paste a long URL. You get a short one back, plus a QR code for it — both ready to share straight away.
- 2
Someone opens it
The short link answers with a redirect to your destination. Your visitor lands where you sent them; nothing renders in between.
- 3
The click is recorded
On the way through, we record the country, device, operating system, browser and referrer. Bot traffic is kept out of your numbers.
Two shapes of address
Every workspace picks one. It changes how your short URLs read and whether you get to choose the ending.
Direct
woox.be/{code}
The shortest form. Endings are generated for you and are unique across all of woox.be.
Subdomain
you.woox.be/{code}
Your own address, and you choose the ending: you.woox.be/summer-sale. Endings only need to be unique inside your workspace.
You set the mode in Settings and can change it whenever you like. Each link remembers the mode it was created with, so links already out in the world never change shape.
What counts as a click
- A QR scan is a click on the link the code points at — same link, same totals.
- Every button on a bio page is a real short link of its own, so it keeps its own click count.
- Opening a bio page is counted separately, as a page view rather than a click.
Configure
Setting up your workspace
Six things, once. None of them takes longer than a minute, and only the first is mandatory.
- 1
Create the account
Sign up with your email, pick your public address, and click the confirmation link we send you. Your workspace is created for you on the Free plan: 25 links, 5,000 tracked clicks a month, one bio page and two seats.
- 2
Choose how your links read
Settings → link mode. Direct for the shortest possible URL, subdomain if you want your own address and hand-picked endings.
- 3
Put your brand on it
Still in Settings: workspace name, logo, wallpaper and three brand colours. The dashboard and your bio pages take them from here.
- 4
Set your bio defaults
Default social icons and a default theme. Every new bio page starts from these instead of a blank slate.
- 5
Bring in your team
Invite people by email and grant only what each one needs — links, analytics, billing, API keys. Invitations expire after seven days.
- 6
Use your own domain
Domains → add yours, then point the DNS record we show you at us. Once it verifies, the certificate is issued automatically and your short links and bio pages are served from go.yourbrand.com instead of woox.be.
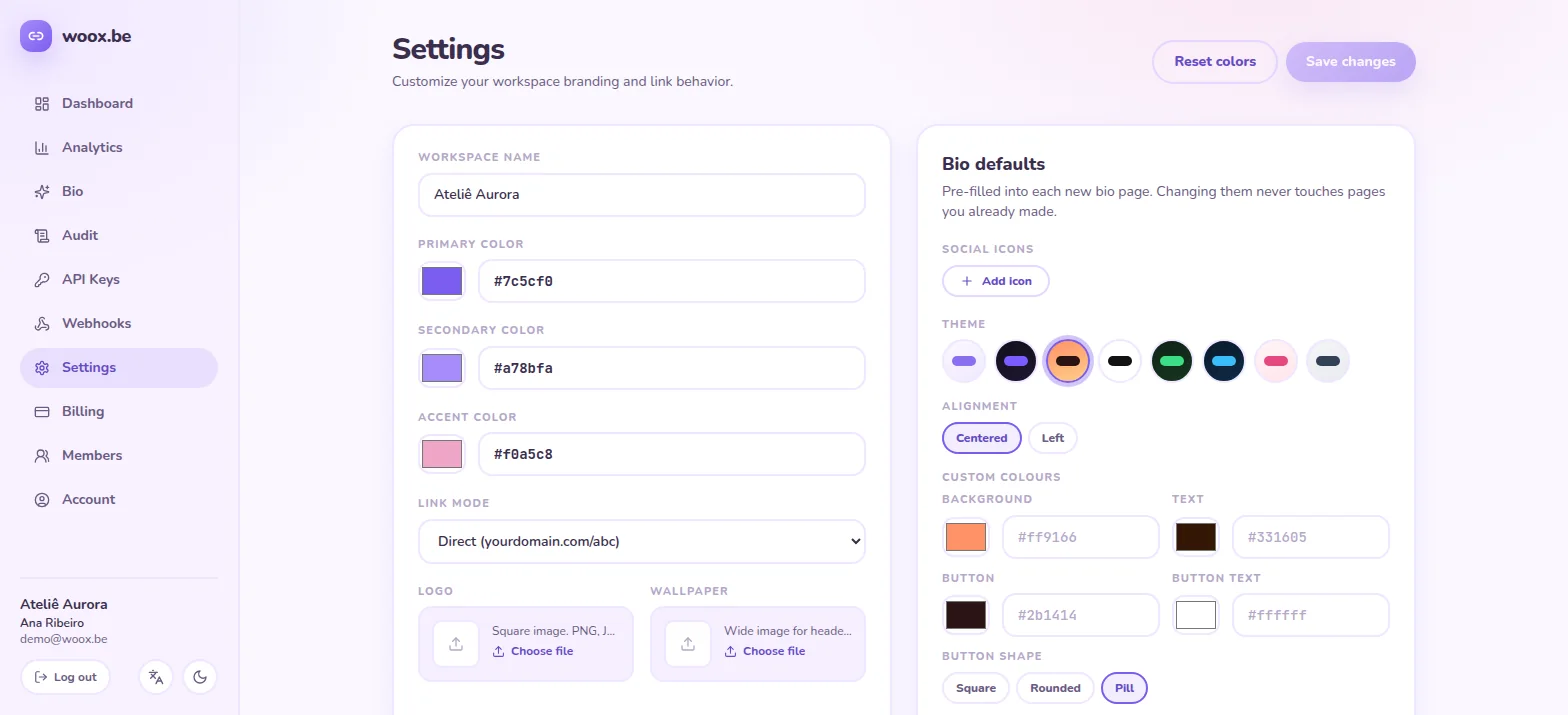
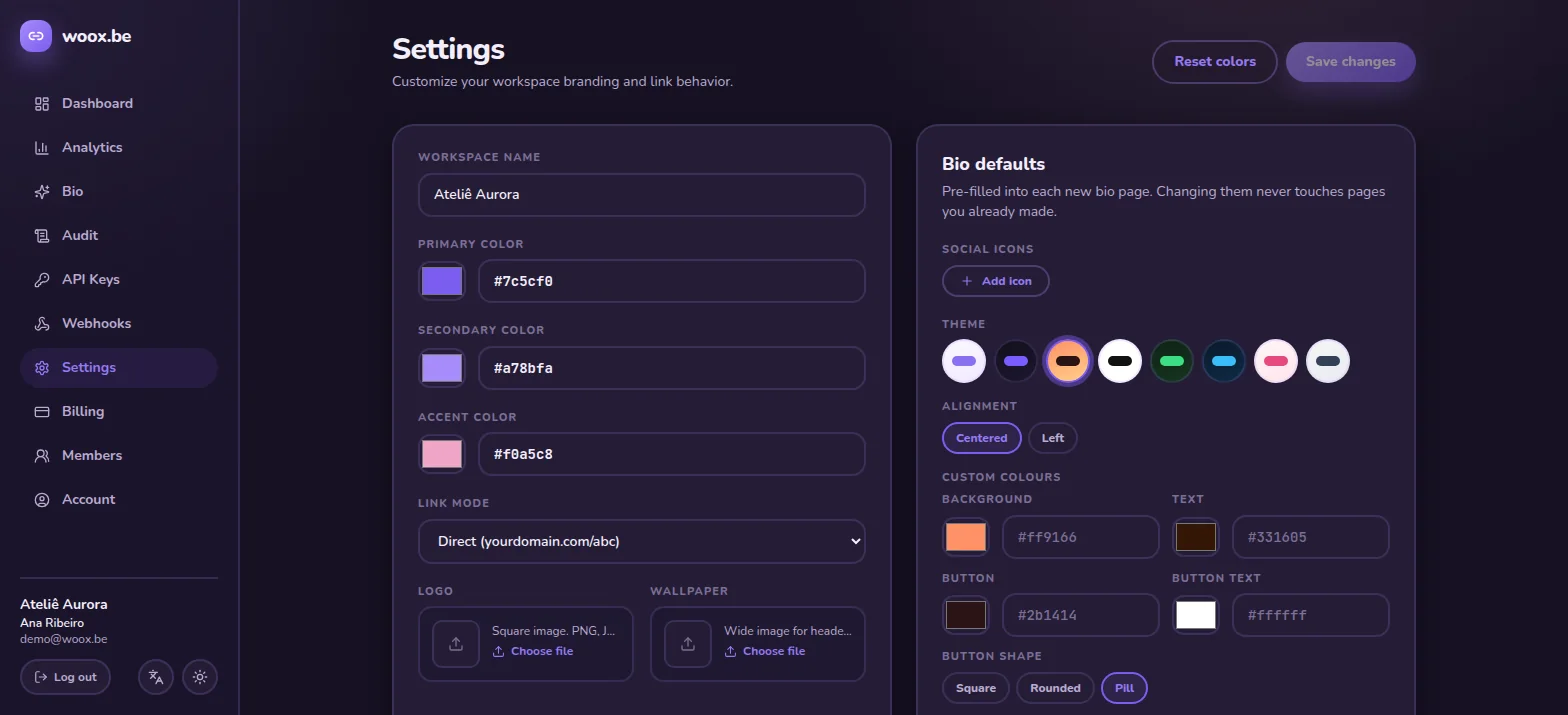
Your public address is chosen at sign-up and is not editable from the dashboard, so pick one you can live with.
Step by step
Your first short link and its QR code
This is the whole loop, and it takes under a minute.
- 1
New link
From the links page, hit New link and paste the destination URL.
- 2
Pick the ending
In subdomain mode you can type it yourself — you.woox.be/menu. In direct mode we generate it, because the ending has to be unique across everyone.
- 3
Set an expiry, if you need one
An expiry date, a maximum number of clicks, or neither. Links stay active until you say otherwise.
- 4
Take the QR code
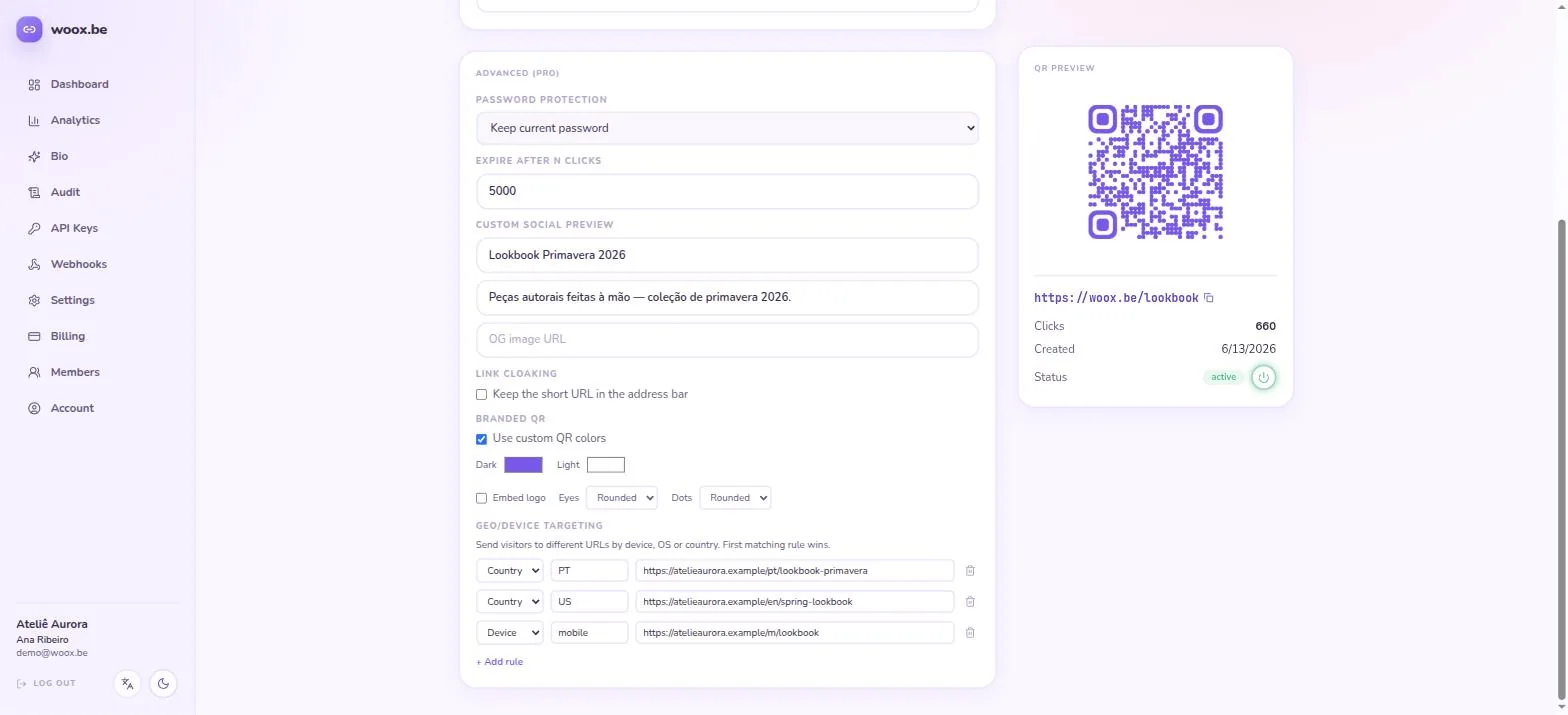
Every link has one, one click away, and it downloads as an image ready for print.
- 5
Tag the campaign
The UTM builder writes source, medium and campaign onto the destination, and saves the combination as a preset for next time.
On paid plans
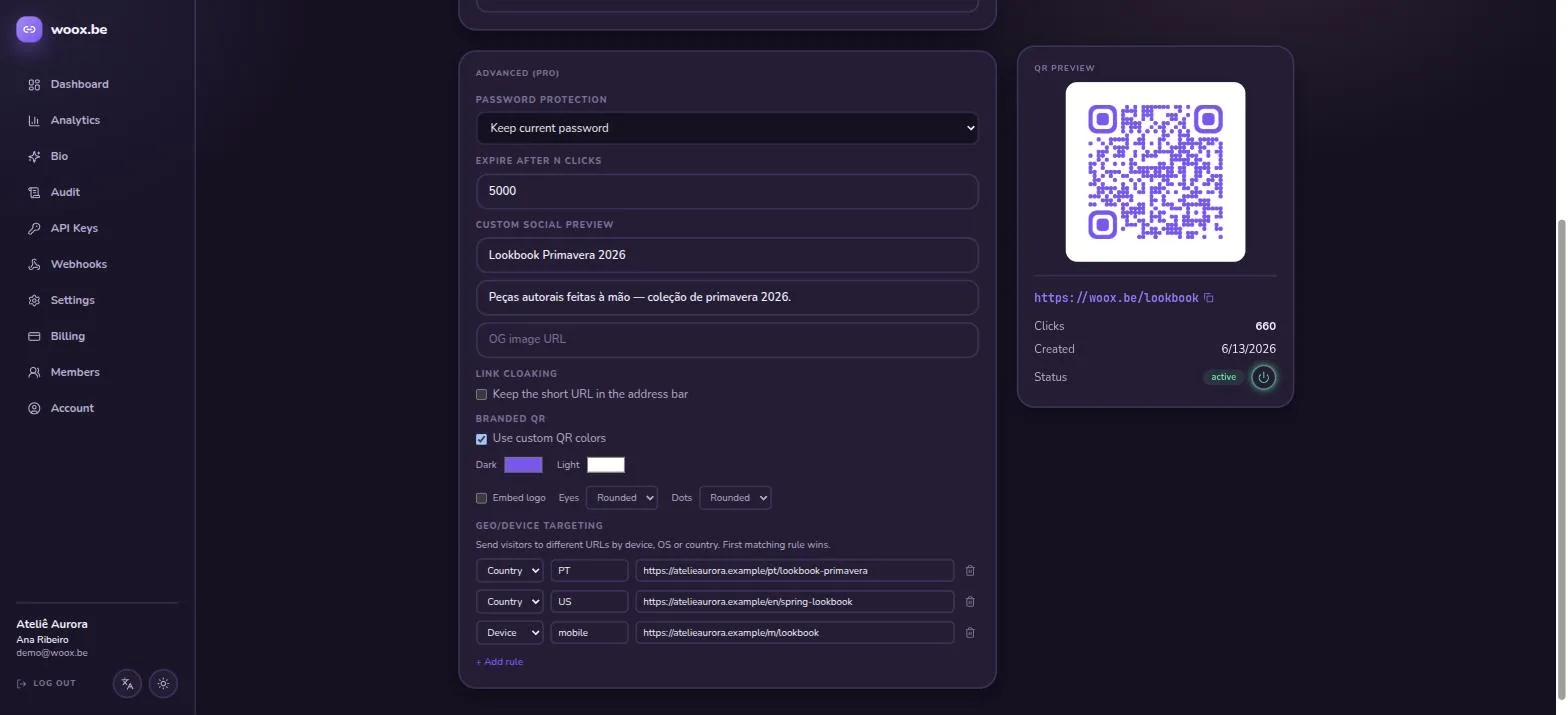
Everything above is on every plan. These sit in the Advanced panel of a link:
- Password protection — visitors have to type a password before the redirect.
- Custom social preview — your own title, description and image when the link is pasted into a chat.
- Link cloaking — the short URL stays in the address bar.
- Expire after N clicks — the link retires itself once it hits the number.
- Branded QR — your colours, rounded modules and your logo in the middle.
- Geo, device and OS targeting — send visitors to different destinations by rule; the first matching rule wins.
Walkthrough
Build a bio page, start to finish
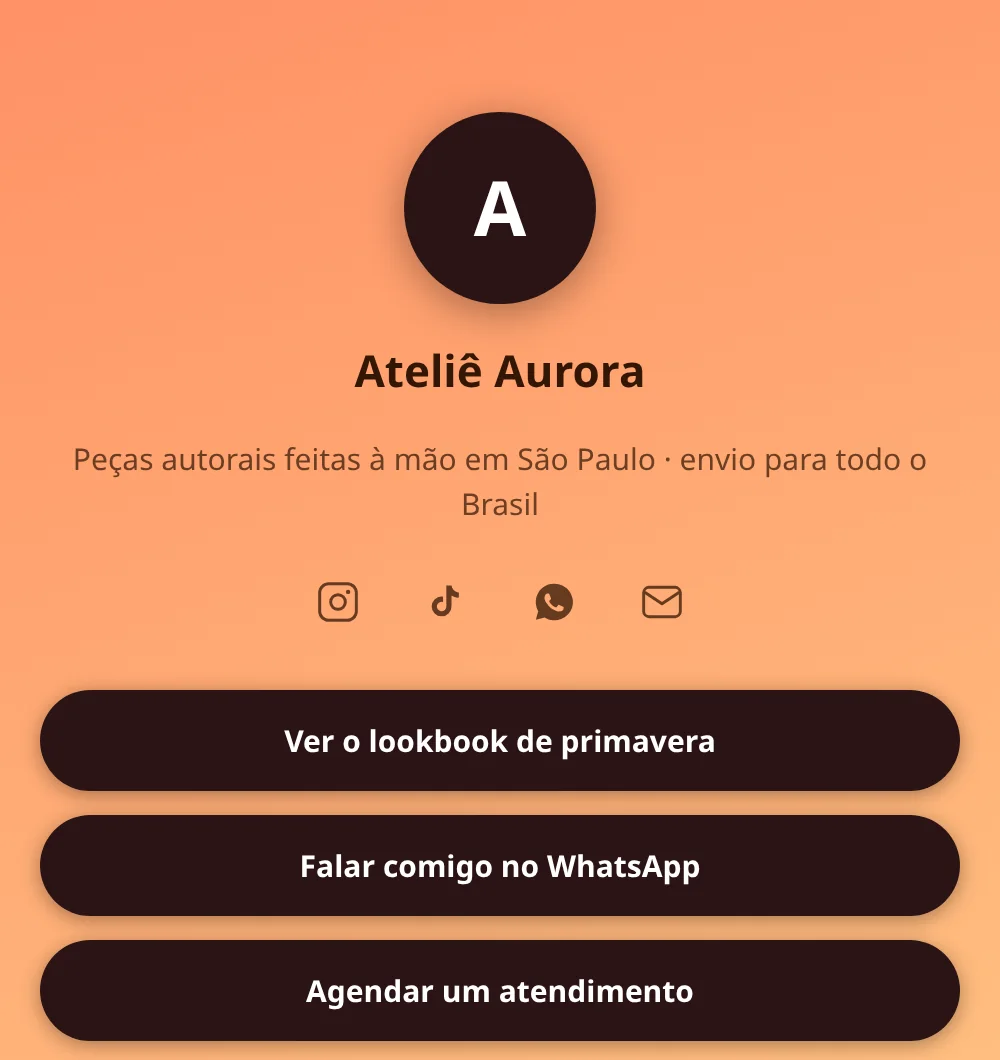
A bio page is one public page holding all your links, served from your own short URL. Every plan gets one published page and up to three drafts in progress. Everything you edit lands in the draft — the public page only changes when you publish. Let's build a real one.
Our example
A small ceramics studio: a shop, a class booking form, a WhatsApp button for custom orders, and their Instagram. One link to put in every profile.
- 1
Create the page
Link in bio → New page. Choose the ending you want — woox.be/aurora — or leave it blank and we pick one.
- 2
Say who you are
Display name, a one-line description and a profile photo. Set the page language too: it drives the share preview and the page's language attribute, never the words you write.
- 3
Add your content
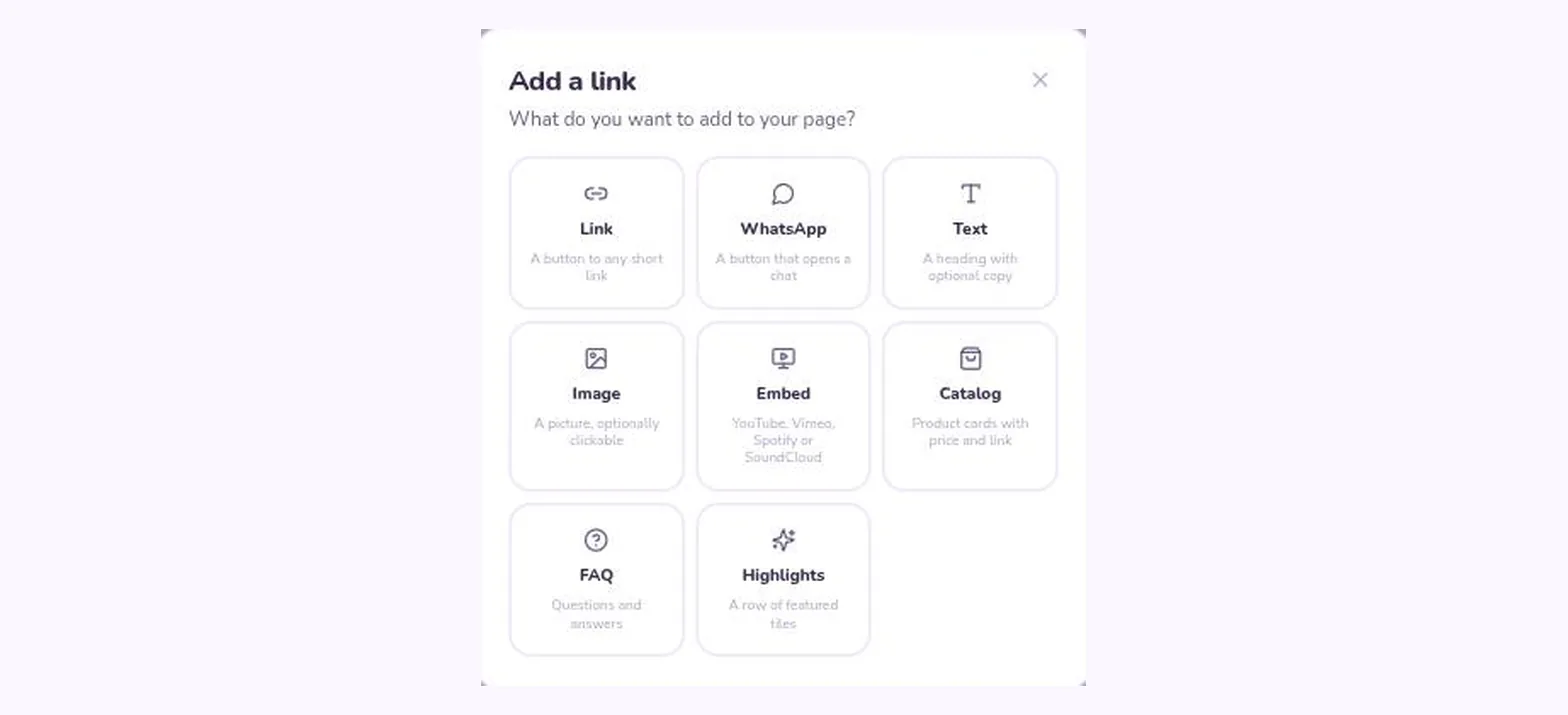
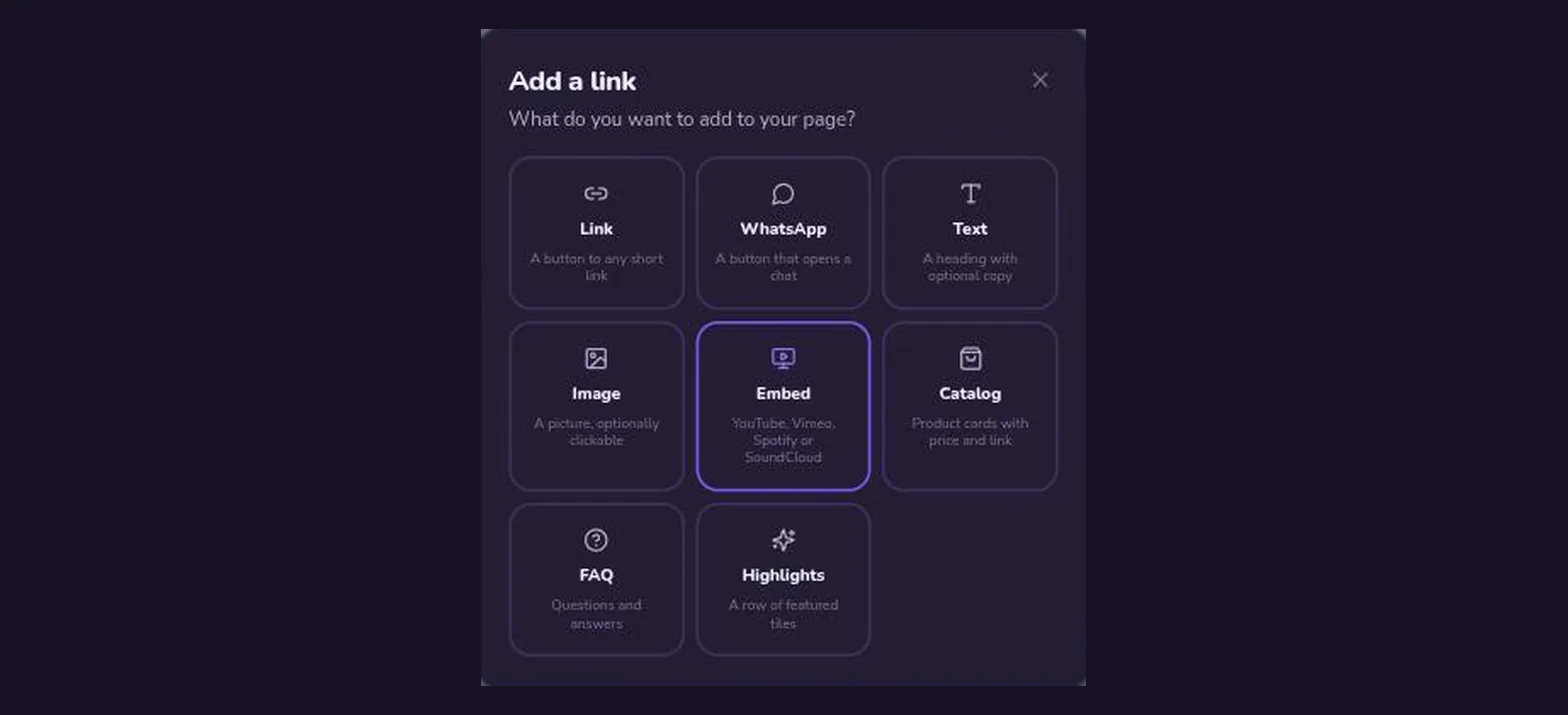
Add content lets you drop in a short link you already have, create a new one right there, or add a WhatsApp button. Each one becomes a button, and each button is a real short link that counts its own clicks.
- 4
Get the order right
Move blocks up and down. Hide one instead of deleting it when a promotion ends — it keeps its history and comes back with a click.
- 5
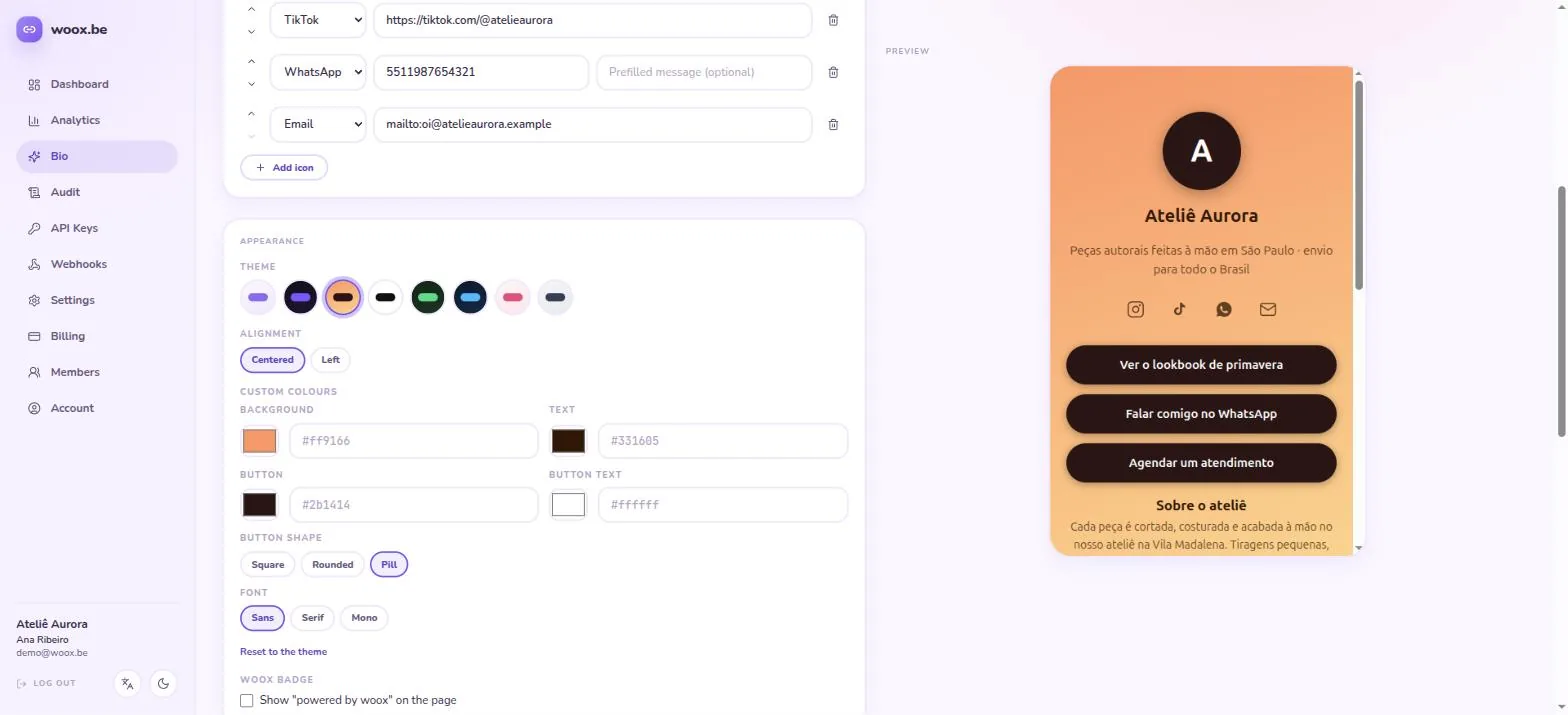
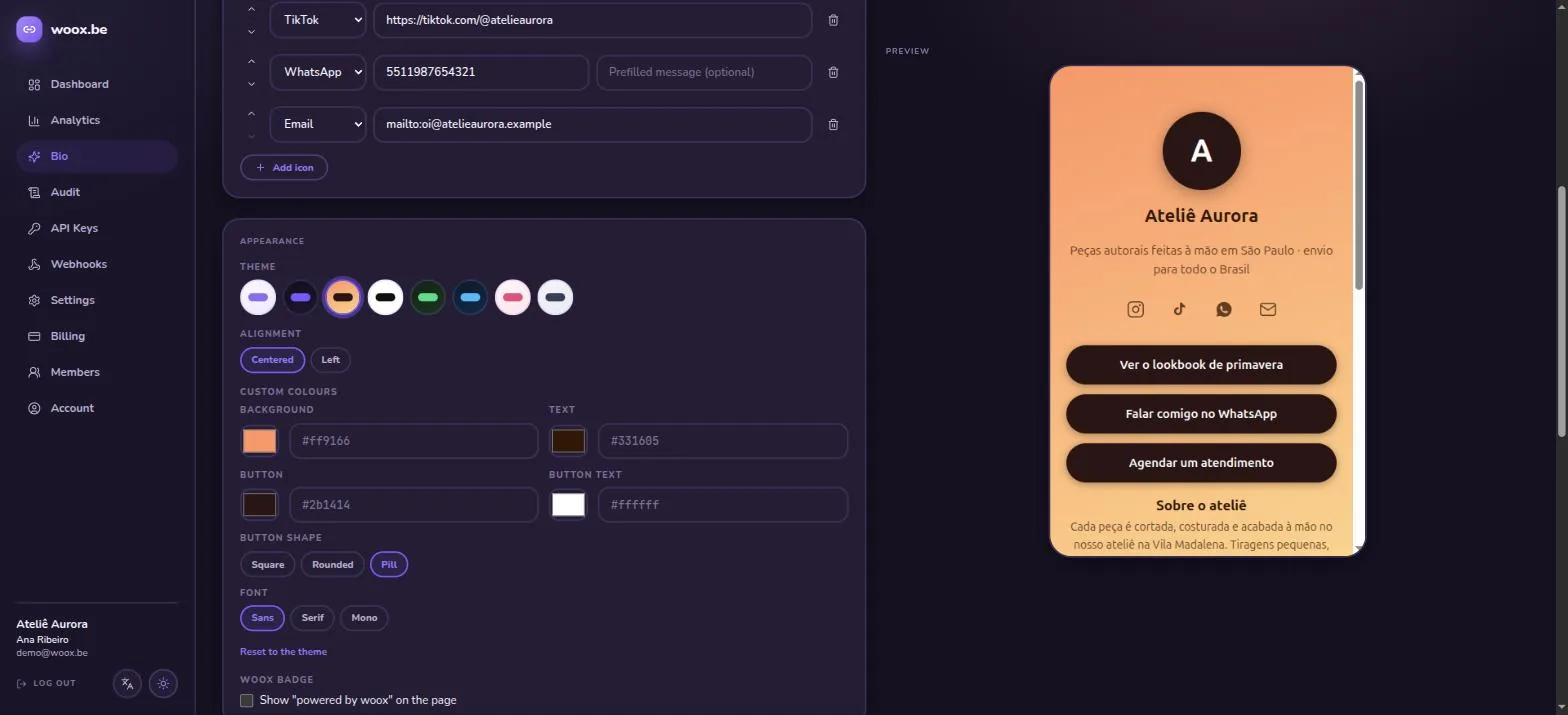
Socials and theme
Add the social icons row, then pick a theme. Presets are free on every plan; custom colours and removing the woox badge are paid.
- 6
Publish it
Edits autosave to your draft as you type, and the preview beside the editor is exactly what will ship. Nothing is public until you hit Publish — then copy the link and open it.
- 7
Change it without breaking it
Keep editing after publishing: the live page stays as it was until you publish again. Discard draft throws your unpublished edits away and puts the last published version back in the editor.
- 8
Go back to any version
Every publish is kept as a numbered version. History lists them all — preview one and Restore copies it into your draft for review; publishing that draft ships it as a new version. Nothing is ever overwritten.
- 9
Take it down, or bring it back
Offline makes the public URL serve a branded not-found page while your versions and short links stay intact. Bring it back online any time — that does not create a new version.
Verify
Prove it is tracking, in five minutes
Do this once, before you share anything. Every step has a result you can see in the dashboard — if one of them does not show up, stop and tell us.
Use a private window
Your own clicks count like everyone else's, and a private window keeps the test clean by starting without your session. Bots and crawlers are filtered out automatically, so nothing else will inflate the numbers while you check.
Open your short link in a private window.
It redirects to your destination, and the click shows up on the links page — in the totals and in the top-links table.
Scan the QR code with your phone.
Same destination, and one more click on that same link.
Open your bio page in a private window.
Views goes up by one in the page's Stats tab.
Tap one of the buttons on the bio page.
The click count next to that block goes up, and so does the link's own total.
Tap one of your social icons.
It appears under Social icon clicks in the Stats tab, broken down by platform.
Open Analytics and switch Humans only on and off.
The numbers change if any bot traffic was seen. This is the filter that keeps crawlers out of your reporting.
Check the plan card.
Links, clicks this month, bio pages and seats, each against your plan's limit.
Numbers are read when a page loads — refresh to see the latest.
Reading the data
What the dashboard tells you
All of it is per workspace, and all of it exports.
Totals and trends
Clicks, unique visitors, active links, plus week-on-week and month-on-month growth.
Who is clicking
Device type, operating system and browser, side by side.
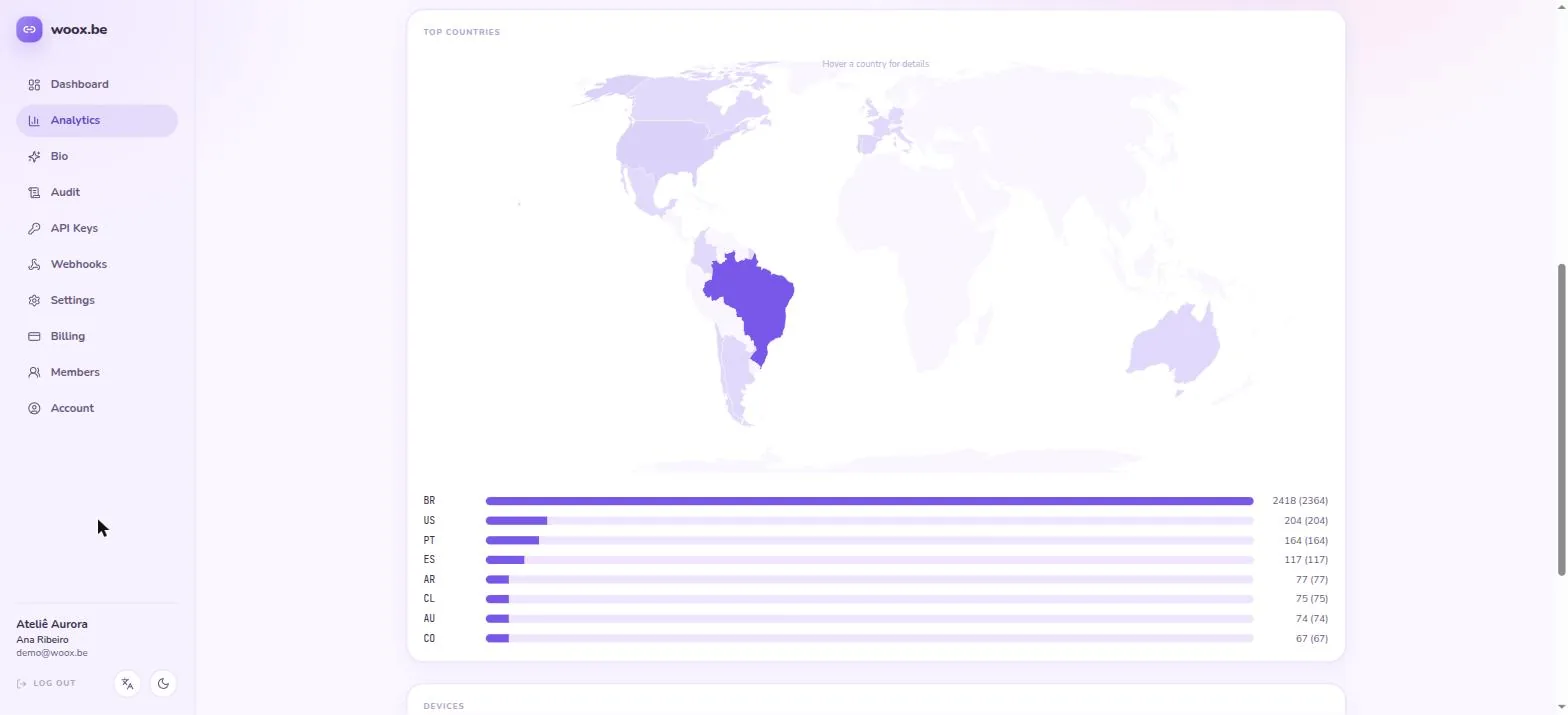
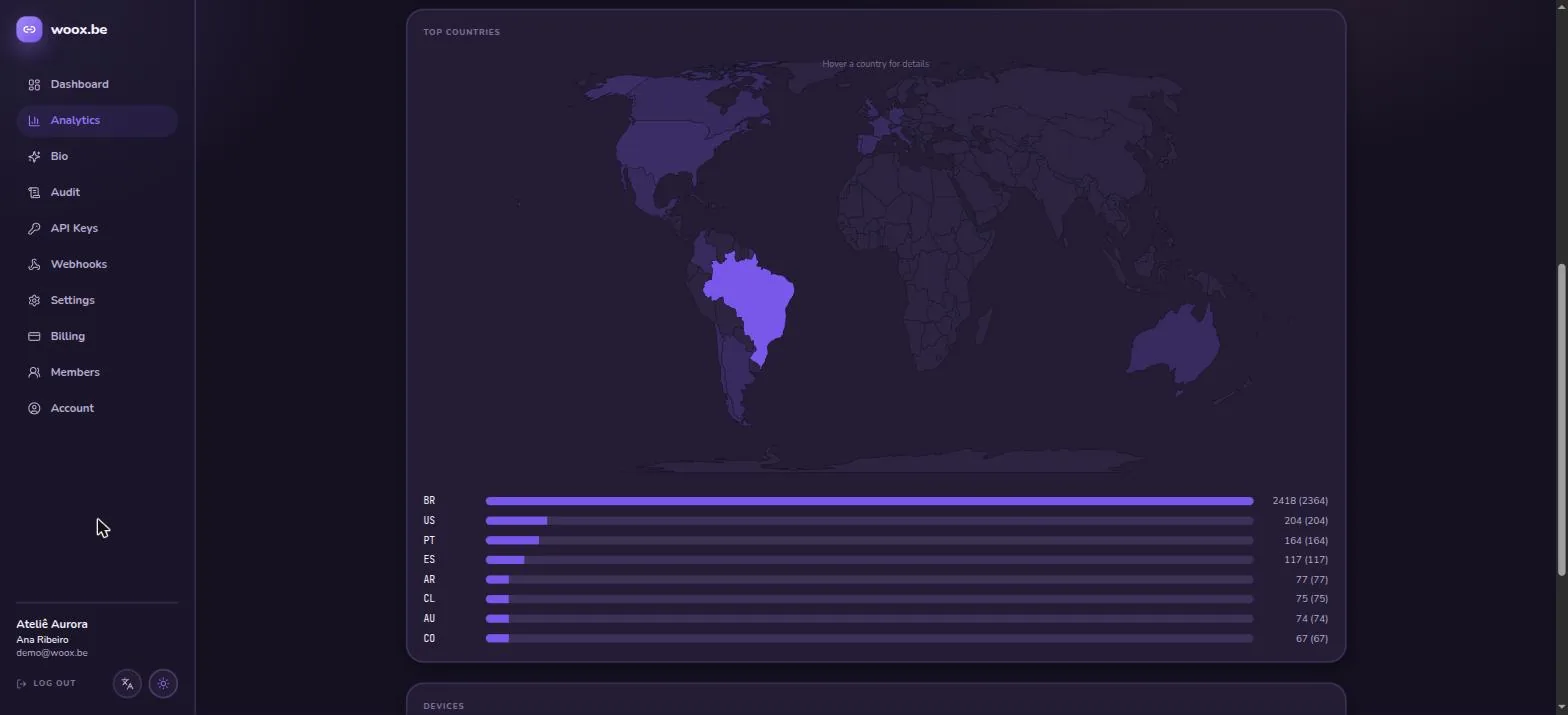
Where from
Countries on an interactive map, and the referrers sending you traffic.
When
Clicks by hour of day, so you know when your audience is awake.
Which links
Top links, links with no clicks at all, and links about to expire.
Take it with you
Export the whole report as CSV or PDF.
Automate
Let an AI agent build your bio page
woox.be ships an installable Agent Skill: point Claude Code (or any agent that reads skills) at your workspace with an API key and say "build my bio page". The agent drafts the page, shows you a preview, and only writes anything after you approve.
Install it once — the skill teaches the agent the whole loop, including how to respect your plan limits instead of failing:
mkdir -p ~/.claude/skills/woox-bio-pages
curl -fsSL https://woox.be/docs/skills/woox-bio-pages/SKILL.md \
  -o ~/.claude/skills/woox-bio-pages/SKILL.md
The agent will ask for a workspace API key — create one in the dashboard under Settings → API keys.
No agent? Same result in the dashboard.
The bio editor has "Generate with AI" and "Optimize with AI" buttons that do the same job server-side — describe your page, import an existing Linktree, or let it rework a page you already run around its own click numbers. Preview, apply to your draft, publish when it looks right. Your plan includes a monthly allowance of AI generations.
Pricing
Simple pricing that grows with you
Start free, upgrade when you need more.
Free
For personal projects
- 3 AI page generations a month
- 25 short links
- 5,000 clicks per month (soft limit)
- QR codes & click analytics
- 2 team members · 1 API key
- 1 bio page · 10 blocks (links, text, images) with page stats
Pro
For creators and professionals
- 30 AI page generations a month
- 1,000 short links
- 100,000 clicks per month (soft limit)
- Geo, device & OS targeting
- Password, custom social preview & cloaking
- Styled QR codes & signed webhooks
- 10 team members · 10 API keys
- 5 bio pages · unlimited blocks · embeds, catalog, FAQ & highlights · custom theme · no badge
Business
For companies and agencies
- Unlimited AI page generations
- Unlimited short links
- 1,000,000 clicks per month (soft limit)
- Everything in Pro
- 50 team members · 50 API keys
- Unlimited bio pages & blocks
Prices in USD. Click allowances are soft limits — we warn you as you approach one, we don't break your links. Upgrade, downgrade or cancel any time from the billing page in the app. Already have an AI agent? The woox-bio-pages skill builds pages through the API on any plan — the inference runs on your side and uses none of your monthly allowance.
If you are plugging this into something else
Each workspace can mint API keys for server-to-server access and subscribe webhooks for link and click events, signed so you can verify they came from us. Both live in the dashboard. Ask us for the endpoint reference and we will send it over.
Questions
Before you ask
Is the Free plan actually free?
Yes. 25 links, 5,000 tracked clicks a month, QR codes, full analytics and one bio page, with no credit card and no trial clock.
What happens when I hit a limit?
Click allowances are soft: you get a warning in the app as you approach one, and your links keep redirecting. Creating something past a hard limit — another link, another seat — is what gets blocked, and the app tells you which limit you hit.
Can I change where a link points after sharing it?
Yes. Edit the destination and the short link keeps working exactly as before — the ending never changes, so printed material stays valid.
Do links expire on their own?
Only if you tell them to, by date or by click count. Otherwise they stay live.
Can I change my public address later?
It is picked at sign-up and is not editable from the dashboard, so choose it deliberately. If you really need it changed, talk to us.
How many people can share a workspace?
Two on Free, ten on Pro, fifty on Business — each with their own permissions, so someone can read analytics without being able to touch billing.
Start with the free plan
Create the workspace, ship one link, and run the five-minute check above.